Learn How To Setup & Manage Your DNS Records Via The Web Hosting Control Panel
Quick Intro
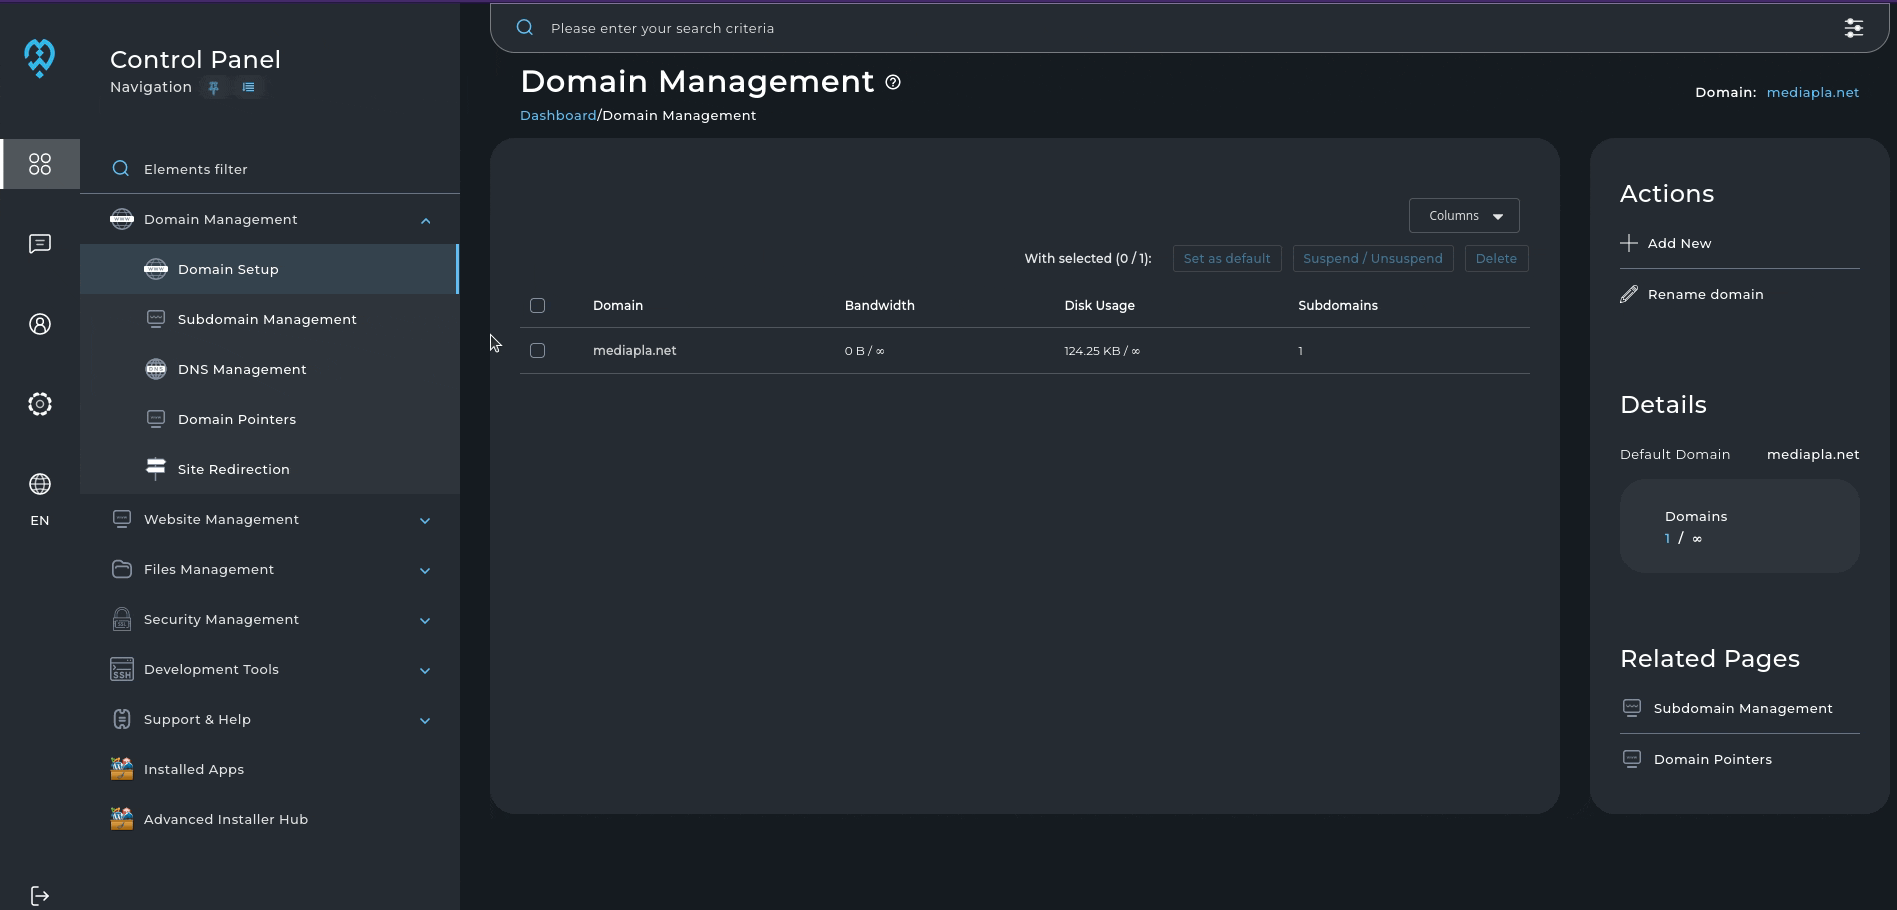
Once you have assigned your domain name to the Web Control Panel, you can edit its DNS Records.
This section contains essential information about making DNS changes to your website. Please read this document thoroughly.
Topics include an important message for beginners, a short DNS tutorial, an explanation (with examples) of A, CNAME, NS, and MX records, and how to change DNS settings.
Important To Know Before You Begin
You can only access DNS Management if you have the domain name assigned to your Web Control Panel. All the DNS Records are automatically generated and assigned to each domain added via the Web Control Panel.
NOTE: It's already correctly set to be hosted by Web Host Most by default.
You can manage your DNS Records the way you need. You can add any existing DNS Record Type, edit, modify, change the TTL (Time-To-Load), or delete any record.
How To Modify Existing DNS Records
To manage existing DNS Records, from your Web Control Panel navigate to: Domain Management > DNS Management > Click on the "Pencil" icon to modify desired record > Perform necessary changes > Click Save for the modifications to apply.
How To Create A New DNS Record
To create a new DNS Record, follow these steps: Domain Management > DNS Management > Add Record > Choose desired DNS Record Type (e.g. A Record; CNAME Record, TXT Record, and others), and add necessary information > Click Save when done.
Learn About DNS Record Types
A Record
Address (A) records direct a hostname to a numerical IP address. For example, if you want mycomputer.yourdomain.com to point to your home computer (which is, for example, 192.168.0.3), you would enter a record that looks like this:

Note: If you have an IPv6 IP address, use the AAAA record instead.

Important: You must put a period (e.g. mydomain.com. ) after the hostname. Do not put periods after IP addresses.
CNAME Record
CNAME allows a machine to be known by one or more hostnames. There must always be an A record first, known as the canonical or official name. For example:
yourdomain.com. A 192.168.0.1
Using CNAME, you can point other hostnames to the canonical (A record) address. For example:
ftp.yourdoman.com. CNAME yourdomain.com.
mail.yourdomain.com. CNAME yourdomain.com.
ssh.yourdomin.com. CNAME yourdomain.com.
CNAME records allow access to your domain through ftp.yourdomain.com, mail.yourdomain.com, etc. Without a proper CNAME record, you cannot connect to your server using such addresses.
Entering a CNAME record
If we wanted www.mediapla.net to point to mediapla.net, we could enter the record in two ways:

The first method allows you to enter the subdomain. Do not put a period after the subdomain name.

The second method requires entering the entire hostname, followed by a period.
NS Record (Nameservers)
NS records specify the authoritative nameservers for the domain.
Important: Changing NS records may cause your site to stop working. There is generally no need to change NS records.
Entering an NS record
There must be a minimum of two NS records. For example:

You can use both methods. With the period at the end of the name or without. (ns1.server1.webhostmost.com. or ns1.server1.webhostmost.com ).
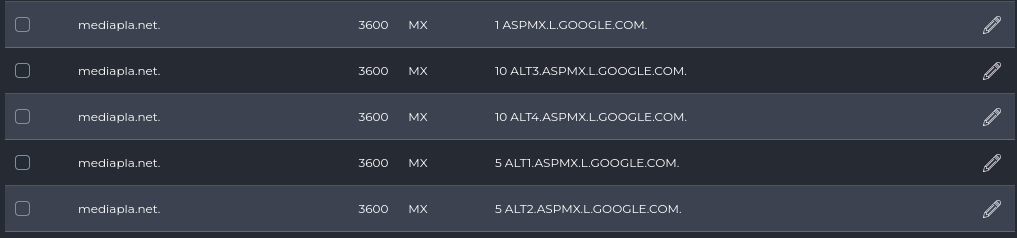
MX Record
Free e-mail services such as gmail.com require MX changes for their software to work. This change allows mail destined for your domain to be directed to their server. Changing MX records may prevent your current POP3 accounts, forwarders, autoresponders, and mailing lists from functioning at your current Email Server.
Entering MX record
For your convenience, you can change your MX records to predefined ones, such as Gmail SMTP, in just a few clicks.
Go to Domain Management > DNS Management > Modify MX Records > Choose your desired SMTP provider from MX Template, for instance, Google Suite MX.
NOTE: If your SMTP provider is not listed, you can manually add MX records by clicking Add Record.
Since you are changing your MX records to another SMTP server, Web Host Most no longer manages your MX records, so you must uncheck Options and let another Email Server handle your Emails.
Once you set your desired SMTP provider, your records should look something like this:
TXT Record
Text records (TXT) are originally used for new types of information storage. This information could be any text.
TXT is often used to set up a Sender Policy Framework (SPF) record, which is used to validate legitimate email sources from a domain.
For example, one of the verification methods of your domain with Google Search Console is a TXT record with a unique Google information tag.

Next, you can manage your DNSSEC records via the Web Control Panel. You can also start uploading your Web Project files following your DocRoot path. If you want to, you can install any available CMS using our Advanced Installer Hub.
